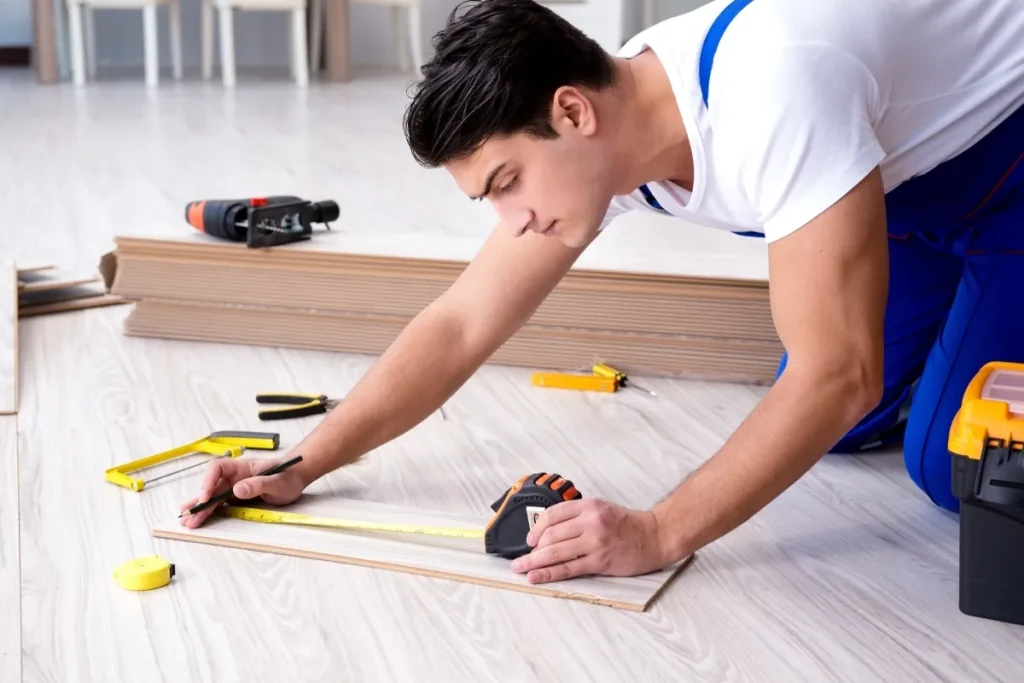
When it comes to restoring your hardwood floors, you don’t have to endure the hassle of sanding. You can bring back the luster and charm without the dust and effort. By following simple steps and using the right techniques, you can restore your hardwood floors to their former glory. Say goodbye to the labor-intensive sanding process and hello to a quicker, easier way to refresh your floors. Whether your goal is to remove scratches, renew shine, or fix minor imperfections, this guide will show you how to achieve stunning results with minimal stress.
Key Takeaways
- Prepare your floors: Before starting the restoration process, ensure your hardwood floors are clean and free of debris to achieve the best results.
- Gather the necessary materials: Having all the required tools and products ready will make the restoration process smoother and more efficient.
- Clean the surface thoroughly: Properly cleaning the hardwood floor is crucial to remove dirt and grime that can affect the refinishing outcome.
- Address scratches effectively: Fill in scratches and imperfections on the floor to create a smooth and uniform surface before proceeding with the restoration steps.
- Buff the floor carefully: Buffing helps to smooth out the surface and prepare it for recoating, enhancing the overall appearance of the hardwood floor.
- Recoat the floor with care: Applying a new coat of finish is essential for protecting the hardwood floor and restoring its shine and durability.
Preparing Your Floors
Pre-Restoration Steps
When inspecting your wood floors, look for scratches, dents, and any signs of wear and tear. Assess the overall condition thoroughly.
Before starting the restoration process, remove all furniture and rugs from the area to have a clear workspace for your floor restoration project.
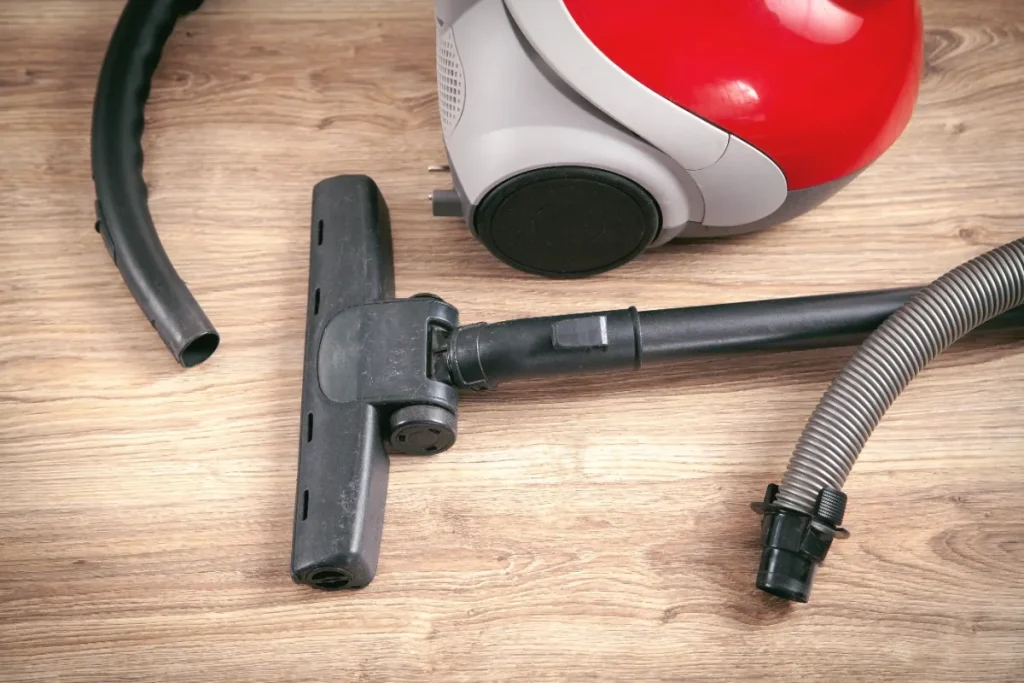
To ensure a successful restoration, clean the floor surface effectively by sweeping away dirt, dust, and debris with a broom or vacuum cleaner.
Proper ventilation is crucial during floor preparation. Ensure there is adequate airflow in the room to help with drying times for any cleaning solutions used.
Floor Vacuuming
When vacuuming your floors, use a vacuum with a floor brush attachment to prevent any damage to the wood surface.
Remember to vacuum along the grain of the wood to avoid causing scratches or damaging the floor finish.
Pay special attention to corners and edges where dust and debris tend to accumulate. Thoroughly clean these areas during vacuuming.
Make sure to remove all dust and debris from the floor before proceeding with any further restoration steps.
Scratch Assessment
Identify the depth and severity of scratches on your hardwood floors by closely examining each affected area.
Determine whether scratches can be repaired without sanding by assessing their size and depth carefully.
Differentiate between surface scratches that only affect the finish layer and deep gouges that penetrate into the wood itself.
Based on your scratch assessment, prepare a detailed plan of action outlining specific treatments for each type of scratch found on your floors.
Gathering Materials
Restoration Essentials
When gathering materials, make sure to collect all the necessary tools and items for the hardwood floor restoration process. Purchase quality wood stain and finish to achieve a professional-looking result. Invest in a good quality buffer to effectively work on the floors without sanding.
To ensure your safety during the restoration process, purchase and wear appropriate safety equipment such as gloves and goggles. These items will protect you from any potential harm caused by chemicals or debris that may be present on the floor surface.
Choosing Wood Stain
When choosing wood stain, consider factors like the existing color and type of wood in your home. Test different stain shades on a small inconspicuous area of the floor to see how they interact with your specific wood type.
Select a stain that complements your interior design style and enhances the overall aesthetic appeal of your space. Opting for water-based stains can make application and cleanup easier, saving you time and effort in the long run.
Incorporate these tips into your hardwood floor restoration project to achieve a stunning outcome that enhances the beauty of your home effortlessly.
Cleaning the Surface
Effective Techniques
When cleaning hardwood floors, learn about various wood restoration techniques. Practice applying wood stain on a spare wood piece to perfect your technique. Follow recommended application methods for best results, ensuring a professional finish. Taking your time and working methodically will ensure even coverage across the floor.
To effectively restore hardwood floors without sanding, it’s crucial to avoid common mistakes that can compromise the outcome. Do not rush the preparation and restoration process; patience is key for a flawless finish. Avoid using too much stain or finish at once, as this can lead to uneven coloring and drying issues. Prevent overlapping of stain application areas to maintain consistency in color and texture throughout the floor. Always follow the manufacturer’s instructions carefully to achieve optimal results.
When restoring hardwood floors without sanding, mastering effective cleaning techniques is essential for a successful outcome. By learning about different wood restoration methods and practicing on spare pieces, you can refine your skills before tackling the main floor. Following recommended application procedures diligently will help you achieve professional results with even coverage across the entire surface.
Avoiding common mistakes during the restoration process is critical to preserving the integrity of your hardwood floors. Rushing through preparation or using excessive amounts of stain can result in an uneven finish that detracts from the floor’s natural beauty. By taking your time, avoiding overlaps in stain application, and adhering to manufacturer guidelines, you can ensure a smooth and flawless restoration process.
Filling Scratches
When dealing with deep scratches on your hardwood floors, start by filling them with an appropriate filler. Use a putty knife to press the filler into the scratch until it’s level with the floor. For smaller scratches and gouges, consider using a wood marker or crayon that matches your floor color.
To address nails that are sticking out and causing scratches, gently hammer them back into place. Ensure they are flush with the surface to prevent further damage. Once you’ve filled all visible imperfections, sand the area lightly to smoothen out the surface before proceeding with staining.
Consider using a wood conditioner before applying the stain to ensure even absorption and a consistent finish. This step is crucial for achieving a professional look without sanding. After applying the conditioner, allow it to penetrate the wood for the recommended time before moving on to staining.
Buffing the Floor
Using a Buffer
When buffing the wood floor, select a buffer with the right grit sanding pad to avoid damage. Buff in smooth, even strokes for a consistent finish.
To ensure optimal results, maintain a steady pace while buffing and avoid exerting too much pressure on the machine. This helps prevent overworking the hardwood floor.
Achieving Smoothness
Between coats of finish, lightly sand the floor to address any imperfections or rough spots. Prioritize achieving a smooth and uniform appearance throughout the entire surface.
Carefully inspect the floor for any flaws and take your time to correct them. By focusing on attaining a flawless finish, you enhance the overall look of your wood floor.
Incorporate techniques from the previous section on “Filling Scratches” to complement your efforts in restoring your hardwood floors. By combining these methods, you can effectively address various issues and enhance the overall appearance of your flooring.
Recoating the Floor
Selecting Finish Type
When recoating your hardwood floor, you need to decide between oil-based and water-based finishes. Each type has its own advantages and maintenance requirements. Consider durability and ease of maintenance before making a choice. Opt for a finish that highlights the natural beauty of the wood.
Experts can provide valuable insights into the best finish for your specific needs. Their recommendations can help you achieve the desired look while ensuring long-lasting results. Consulting with professionals ensures that you select the most suitable finish type for your hardwood floor.
Application Process
To ensure a successful recoating process, apply the finish in thin, even coats. This technique helps achieve a smooth and uniform appearance across the entire floor surface. Using a high-quality brush or applicator is crucial for achieving the best results possible.
Allow each coat to dry completely before applying the next one. This step is essential for preventing any issues with the finish’s adhesion and overall quality. Sanding lightly between coats helps create a professional-looking finish that enhances the aesthetics of your hardwood floor.
Incorporating these steps into your recoating process will help you achieve a beautifully restored hardwood floor without sanding.
Maintenance Tips
Regular Cleaning
When it comes to maintaining your hardwood floors, sweep or vacuum the surface regularly to keep it free from dirt and debris. By doing so, you prevent scratches caused by abrasive particles on the floor.
To ensure your hardwood floors remain in top condition, use a damp mop with a mild wood floor cleaner. This helps remove any stubborn grime or stains without causing damage to the wood surface.
Avoid using harsh chemicals or abrasive cleaners on your hardwood floors as they can strip away the protective finish, leading to premature wear and dullness of the wood.
Implementing a regular cleaning schedule is crucial in maintaining the appearance of your hardwood floors. By staying consistent with your cleaning routine, you can preserve the natural beauty of the wood for years to come.
Preventing Damage
To protect your hardwood floors from damage, place protective pads under furniture legs. These pads help distribute weight evenly and prevent indentations on the wood surface.
Avoid dragging heavy objects across your hardwood floors as this can cause scratches and gouges. Instead, lift furniture or use sliders to move heavy items without damaging the floor.
In case of spills, make sure to wipe them up immediately to prevent stains from setting into the wood. Prompt action not only maintains the appearance of your floors but also prevents long-term damage.
Consider using area rugs in high-traffic areas such as hallways and living rooms to minimize wear and tear on your hardwood floors. Rugs act as a protective barrier against constant foot traffic, preserving the natural beauty of the wood underneath.
Enhancing Longevity
Regularly inspect your hardwood floors for any signs of wear or damage. Addressing issues promptly can prevent them from worsening and extend the lifespan of your flooring.
Applying a fresh coat of finish every few years can help rejuvenate your hardwood floors and protect them from daily wear and tear. Recoating not only restores shine but also adds an extra layer of protection against scratches and stains.
Consider investing in a quality doormat at each entrance to trap dirt and grit from shoes before they reach your hardwood floors. This simple step can significantly reduce the amount of debris that accumulates on your floors, preserving their pristine condition.
Polishing Techniques
Choosing Polish
When it comes to choosing polish for your hardwood floors, ensure you select a product specifically formulated for this type of flooring. Consider the sheen level you prefer, whether matte, satin, or glossy. Before applying the polish all over, it’s crucial to test it on a small inconspicuous area.
For optimal results, always follow the manufacturer’s instructions regarding application and drying times. This step is essential to prevent any damage or uneven finish on your hardwood floors. By adhering to these guidelines, you can achieve a professional-looking polish that enhances the beauty of your floors.
Polishing Process
In restoring hardwood floors without sanding, the polishing process plays a pivotal role. When applying the polish, make sure to do so in the direction of the wood grain. This technique helps in achieving a uniform and smooth finish across the entire floor.
To apply the polish effectively, use a clean microfiber cloth or mop. These tools ensure even distribution and prevent streaks or patches on the floor surface. Once you have applied the polish, allow it to dry completely before allowing foot traffic on the floor.
After the polish has dried thoroughly, consider buffing the floor gently using a soft cloth or buffer. This step not only enhances the shine of the floor but also helps in smoothing out any imperfections or rough spots. By following these steps diligently, you can transform your hardwood floors and give them a new lease on life.
Professional Advice
When to Consult
When tackling hardwood floor restoration projects that require special attention, it’s wise to seek professional advice. Flooring experts can provide tailored recommendations based on the condition of your floors. Manufacturers can also offer guidance on using specific products for optimal results. For more intricate tasks, consider hiring professional floor refinishers who have the expertise to handle complex restoration projects effectively.
It’s crucial to consult with professionals when you encounter challenges during the restoration process. Flooring experts possess the knowledge and experience to address any issues that may arise, ensuring a successful restoration outcome. By reaching out to manufacturers, you can gain insights into the best products and techniques to use for your hardwood floors. Professional floor refinishers bring a level of skill and precision that is essential for achieving high-quality results in challenging restoration projects.
When considering different restoration options, consulting with professionals can help you make informed decisions. Whether you’re dealing with extensive damage or seeking advice on enhancing the appearance of your floors, experts can provide valuable input. By engaging with flooring specialists, you can explore innovative solutions and techniques that may not be readily available through standard restoration methods. Seeking professional advice ensures that you approach your hardwood floor restoration project with confidence and clarity.
Finding Experts
To locate reputable professionals for your hardwood floor restoration needs, begin by researching established flooring companies in your area. Look for companies with a proven track record of delivering high-quality services and customer satisfaction. Reading reviews and testimonials from previous customers can give you valuable insights into the reliability and expertise of different flooring experts.
Ask for recommendations from friends or family members who have recently undergone hardwood floor restoration projects. Personal referrals are often reliable sources of information and can lead you to trustworthy professionals in the industry. By leveraging personal connections, you may discover hidden gems among local flooring experts who excel in providing top-notch restoration services.
When exploring potential flooring specialists, request quotes from multiple companies and compare their services before making a decision. Consider factors such as pricing, turnaround time, and the range of services offered by each provider. By obtaining multiple quotes, you can evaluate different options and choose a professional who aligns with your budget and requirements. Comparing services allows you to make an informed choice that meets your expectations for quality and professionalism.
Avoiding Mistakes
Common Pitfalls
When restoring hardwood floors without sanding, it’s crucial to avoid overlooking proper preparation steps. Failing to clean, repair, and adequately prepare the surface can lead to poor results.
Another common mistake is applying too much or too little stain or finish. This can result in an uneven appearance or a lack of protection for your hardwood floors.
Skipping drying time between coats is a mistake that can compromise the integrity of the restoration process. Proper drying time allows each layer to set and bond effectively.
Don’t make the error of neglecting regular maintenance after restoration. Regular cleaning and maintenance are essential for preserving the beauty and longevity of your newly restored hardwood floors.
Corrective Measures
If you encounter uneven or rough areas after restoring your hardwood floors, consider sanding them down for a smoother finish. This step helps ensure a uniform appearance across the entire floor surface.
To address patchy or discolored spots, you may need to reapply stain or finish selectively. This corrective measure can help blend in these imperfections with the rest of the floor.
In case you face major restoration errors beyond your expertise, don’t hesitate to seek professional help. Professional floor refinishers have the skills and tools to rectify significant issues effectively.
To prevent future damage and maintain the restored look of your hardwood floors, it’s essential to implement preventive measures. These may include using furniture pads, area rugs, and regular cleaning routines to protect your floors from wear and tear.
Closing Thoughts
You’ve learned how to restore hardwood floors without sanding, from preparing and cleaning to recoating and polishing. By following these steps, your floors can regain their luster and beauty. Remember the maintenance tips to keep them looking great for years to come. If you encounter challenges, seek professional advice to ensure the best results. Avoid common mistakes that could damage your floors and always use proper techniques for a flawless finish.
Take action today to revive your hardwood floors and enjoy a fresh new look in your home. Your efforts will not only enhance the appearance of your space but also increase the longevity of your flooring. Keep up with regular maintenance and care to preserve the beauty of your hardwood floors for a lifetime.